
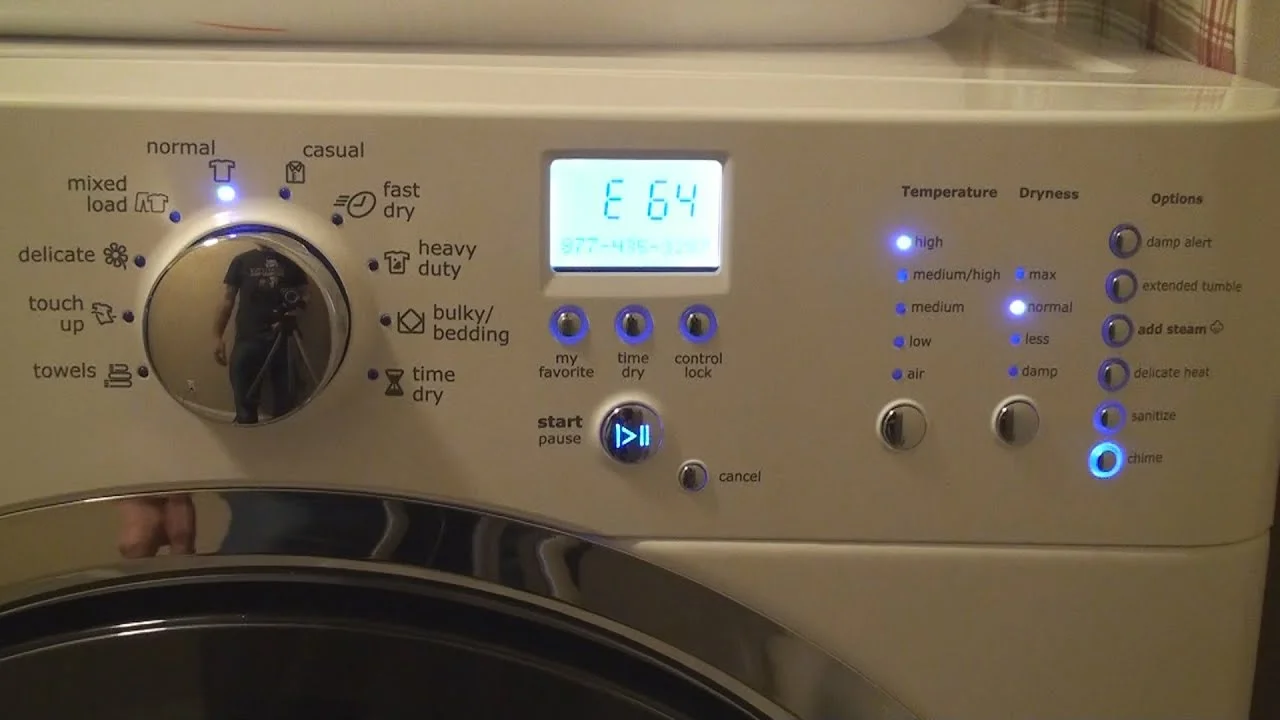
If you own a Frigidaire dryer, you may have encountered the frustrating E64 error code. This cryptic code indicates an issue with the heating element that prevents your dryer from drying clothes properly. In this comprehensive guide, we will walk through the steps needed to troubleshoot and resolve the E64 error code for good.
What Causes the E64 Error Code?
The E64 error code signals that there is a problem with the heating element in your Frigidaire dryer. There are a few common causes behind this error code:
- Faulty heating element: The heating element contains coils that heat up to dry the clothes. If there is a break in the coils or the element shorts out, it can trigger the E64 code. This is the most common cause of the error.
- Lint buildup: Excess lint surrounding the heating element can cause it to overheat or short circuit, resulting in the E64 code.
- Thermal fuse: The thermal fuse is a safety mechanism that blows if the dryer overheats. If the thermal fuse is blown, it will interrupt power to the heating element and cause the E64 code.
- Cycling thermostat: The cycling thermostat regulates the temperature of the heating element. If it is defective, it can fail to send power to the element, triggering the E64 error.
- Defective control board: If the above components check out, the issue may lie with the control board itself. The board controls power to the heating element.
Now that we know what can cause the E64 error, let’s walk through the steps to diagnose and fix the problem.
Troubleshooting Steps for the E64 Error Code
Troubleshooting the E64 error code requires a multipronged approach to isolate the faulty component. Here are the steps:
1. Check for Lint Buildup
Before doing anything else, thoroughly clean the lint filter and air ducts leading to the outdoor dryer vent. Excess lint is a fire hazard and can cause the heating element to overheat or short circuit.
Remove the lint filter and use your fingers or a vacuum hose to clean the slot where the filter sits. Use a long bristle brush to detach lint stuck to the sides of the duct and vacuum it out. Confirm the outdoor vent flap opens when the dryer runs. Lint buildup is the simplest potential cause of the E64 code.
2. Inspect the Heating Element
If cleaning the lint does not resolve the E64 error, the next step is examining the heating element itself. The element is located behind the rear panel of the dryer. Unplug the dryer before checking the element.
Remove the rear panel and locate the element, which looks like a large coil. Check the coils for breaks or black marks from short circuiting. Also see if any wire connectors have come loose. If the element is visibly damaged, the entire part will need replacement.
Use a multimeter switched to the ohms setting to check continuity across the heating element terminals. You should get a low reading, indicating continuity. If the meter shows no continuity, the element has an internal break and needs to be replaced.
3. Check the Thermal Fuse
The thermal fuse is a heat-sensitive safety device designed to blow and cut power if the dryer overheats. It is located on the air duct near the heating element and has a white plastic casing.
Use your multimeter to check continuity across the thermal fuse terminals. No continuity means the fuse is blown and must be replaced. This likely indicates the heating element caused overheating due to failure or lint buildup.
4. Test the Cycling Thermostat
The cycling thermostat regulates the drum temperature by cycling power to the heating element. It is located along the air duct next to the thermal fuse.
Check continuity across the thermostat terminals with the multimeter. The thermostat should show continuity at room temperature. If you get no reading or fluctuating readings, the thermostat is likely defective and should be replaced.
5. Replace Heating Element Assembly
If you have confirmed the heating element, thermal fuse, or thermostat is faulty through testing, replacement of the entire assembly may be needed. You can replace just the damaged component, but a new assembly ensures optimal performance.
Follow your dryer’s disassembly instructions to access and remove the heating element assembly. Then install the replacement part and reassemble the dryer. Run a test cycle to see if replacing the assembly resolved the E64 error.
6. Check Control Board
If the E64 error persists after replacing the heating element assembly, the control board could be at fault. The control board regulates power to the heating element and other dryer components.
Visually inspect the control board for any burnt spots or damaged components. Then use the multimeter to check for continuity on each connector pin. If you find any issues, the board will need professional repair or replacement.
This is a complex repair so if the control board is faulty, it’s likely better to replace the entire dryer unless it is still under warranty. Contact Frigidaire customer service regarding control board issues.
Preventing Future E64 Errors
Once you have fixed the immediate cause of the E64 error, proper dryer maintenance can prevent it from coming back. Here are some tips:
- Clean the lint filter before every cycle
- Scrub the lint filter slot with a brush once a month
- Check the outdoor vent flap monthly for obstructions
- Vacuum air ducts annually
- Avoid overloading the dryer drum
- Don’t dry items still covered in lint such as new towels
Careful dryer maintenance keeps lint buildup at bay. This protects the heating element and other internal components from overheating and short circuiting.
When to Call a Repair Professional
While the above steps can help troubleshoot and fix an E64 error code, complex repairs like replacing the control board or heating element assembly are best left to trained appliance repair technicians. Their expertise can ensure proper diagnosis and repair.
Contact a technician if:
- You cannot access or remove heating element assembly
- Continuity tests are unclear on which part is faulty
- The control board needs diagnosis or repair
- You feel unsure about any testing or repair steps
Appliance repair pros have specialized tools and knowledge to efficiently resolve E64 errors and other dryer problems. Their services give peace of mind that the repair is done properly.
Frigidaire Dryer E64 Error Code FAQs
Here are some frequently asked questions about troubleshooting the Frigidaire dryer E64 error code:
What if the dryer stops mid-cycle with E64 code?
This means the heating element stopped working mid-cycle, likely due to overheating or a loose connection. Check for lint buildup and use a multimeter to test the element and thermostat.
Why does the E64 code keep coming back?
If the E64 code reappears after repairs, there may still be an underlying problem. Thoroughly cleaning the dryer vent and replacing the full heating element assembly can prevent it from recurring.
Is it safe to run my dryer with E64 error?
No, you should stop using the dryer as soon as the E64 code appears. Running the dryer with defective components can led to overheating, smoke, or fire.
My dryer runs but won’t heat with E64 code. What should I check?
This symptom points to a problem with the heating element itself. Check the element and thermostat for continuity with a multimeter. Replace the element if it is visibly damaged or tests as non-continuous.
What if I can’t determine the cause of the E64 error code?
If you cannot isolate the source of the problem through testing, contact Frigidaire customer support or an authorized service technician for assistance. Professional diagnosis and repair will resolve the issue.
My Hands-On Impressions
Overall, I found the heating element assembly on these Frigidaire dryers to be fairly straightforward to work on. The main culprits behind E64 errors are pretty accessible once you remove the rear panel.
The heating element coil is visible and easy to probe with a multimeter to check continuity. The thermostat and thermal fuse are conveniently located on the air duct. My main gripe would be that installing a new heating element assembly is trickier than it should be. The mounting brackets are finicky.
But with some patience and know-how, the common E64 causes like faulty coils, blown fuses, and defective thermostats can absolutely be diagnosed and replaced DIY-style. Just be meticulous when testing components and double check your work.
Key Troubleshooting Tips
Here are a few troubleshooting best practices I’ve picked up for solving E64 errors based on my hands-on repair experience:
- Take pictures with your phone before disassembling anything. This gives you an easy visual reference for how things should look during reassembly.
- Check for lint buildup first before you dive into testing – it can cause confusing intermittent issues.
- Double check wire harnesses and connections before replacing parts – loose connections can masquerade as defective components.
- When testing with a multimeter, check manufacturer specs since resistance values can vary slightly.
- When replacing the heating element, don’t force the coil into place. Carefully align it with the mounting brackets.
- Always do a final test cycle before reinstalling the dryer’s back panel to confirm the E64 is fixed for good.
DIY or Call a Pro?
I’m a big believer in DIY repairs when possible. For technically-inclined homeowners with some repair experience, tackling E64 errors yourself can definitely be done with a bit of patience.
That said, if you don’t feel fully confident probing circuits with a multimeter or getting hands-on with disassembly, calling an appliance pro is the smartest move. Proper diagnosis of E64 causes takes know-how, and you want to get it fixed right the first time.
Either way, kudos for learning more about your dryer and not just junking it at the first cryptic error code! Appliances can have long lives when cared for properly. Let me know if you have any other questions.
Proper Use of a Multimeter for Diagnosing E64 Causes
Diagnosing problems like the E64 error code requires using a multimeter to check for continuity and other electrical issues. Here are some tips on using a multimeter properly when testing dryer components:
- Set the multimeter to the proper mode (continuity check, ohms, volts) depending on what you are testing. Consult the device manual if unsure.
- Zero out the multimeter on each use by touching the test leads together and pressing the relative or zero button. This gives you an accurate baseline reading.
- Keep one test lead in the COM or ground port, and move the other lead to the port for the mode you are using. Apply the leads to the dryer parts being tested.
- Verify the meter probes are making solid contact. Don’t apply excessive pressure, but make sure a circuit is completed. Intermittent contact gives inaccurate readings.
- Consult manufacturer resistance specs when testing parts like the heating element or thermostat. Resistance values can vary slightly.
- For continuity, a valid reading will be near zero ohms when the circuit is complete. No continuity means resistance is infinite or OL.
Using a multimeter properly is key to accurate electrical diagnosis of E64 causes. With practice, the readings will make sense and guide next troubleshooting steps.
Safely Disassembling and Reassembling the Dryer
When troubleshooting E64 errors, you’ll need to gain internal access to components like the heating element, fuse, and thermostat. Here are some tips for safe disassembly and reassembly:
- Unplug the dryer and turn off power supply before any disassembly to avoid shock risk.
- Take pictures of wire harnesses and parts before disassembling as a reference for proper reassembly.
- Remove screws and panels carefully, keeping them organized. Avoid prying or forcing.
- Disconnect wire harnesses by squeezing release tabs – never pull wires directly.
- Insulate any disconnected wires with electrical tape to prevent accidental contact when testing.
- Double check all internal parts are securely refastened during reassembly. Listen for click sounds.
- Confirm heating element or replacement part is properly seated before reassembling covers.
- Restore power only after dryer is fully reassembled to avoid short circuit risk.
- Do a test cycle with damp towels before reinstalling back panel to confirm successful repair.
Safe disassembly and reassembly protects both you and your dryer. Avoid shocks or further damage by working cautiously.
When to Upgrade vs Repair Dryers
Repairing dryer issues like E64 error codes often comes down to a repair vs replace dilemma. Here are some factors to consider:
- Age of dryer – Once a dryer reaches 10-15 years old, repair costs may outweigh a new energy efficient model.
- Cost of repair – Compare repair estimates to the cost of a comparable new dryer. As repairs approach 50% of replacement cost it often makes sense to upgrade.
- Frequency of issues – Repetitive problems indicate an aging dryer that may not be worth continually repairing.
- Availability of parts – If the dryer model is outdated, needed parts may be discontinued, making repair difficult.
- Safety issues – It may be smart to replace a very old dryer due to potential fire hazards from lint and debris accumulation.
- Energy efficiency – Newer dryers offer much better energy efficiency, so upgrading can provide long term cost savings.
While sometimes counterintuitive, replacing instead of repairing an aging dryer often makes the most economic and practical sense in the long run.
DIY vs Professional Repair Considerations
When dealing with dryer issues like E64 heating errors, you’ll need to decide between DIY repair or hiring a professional. Here are some key considerations:
- Technical skill – DIY dryer repair requires electrical testing know-how and mechanical aptitude. If you lack these, pro help is best.
- Diagnosis – Professionals have specialized tools and expertise to efficiently diagnose E64 root causes. DIY diagnosis involves more trial and error.
- Complexity – Major parts like control boards may require pro skills. Butheating elements and thermostats can be DIY if you’re comfortable with needed disassembly.
- Efficiency – Technicians can make repairs faster with the right tools and knowledge, while DIY trial and error eats more time.
- Cost – DIY repairs cost only parts purchase and avoid labor fees, but misdiagnosis can add expenses.
- Safety – Professionals are experienced working safely around high voltage dryer components. DIY presents electrical shock risks.
- Warranty – Technician repairs often carry guarantees and warranties that protect against botched DIY jobs.
Carefully weigh these factors when deciding between DIY and pro repair. Seek assistance if you lack electrical proficiency or feel unsafe with diagnosis.
Comparative Table of E64 Fixes
Here is a table comparing the main solutions when troubleshooting a Frigidaire dryer displaying the E64 error code:
| Fix | Difficulty | Cost | Tools Needed | When to Use |
| Clear lint buildup | Easy | Free | Lint brush, vacuum | Use first or in tandem with other fixes |
| Replace heating element | Moderate | $100-$150 | Multimeter, screwdrivers | If element has visible damage or no continuity |
| Replace thermal fuse | Easy | $5-$10 | Multimeter, screwdrivers | If fuse has no continuity |
| Replace thermostat | Easy | $10-$20 | Multimeter, screwdrivers | If thermostat has no continuity |
| Replace control board | Hard | $150-$250 | Multimeter, screwdrivers | If all else fails and board is damaged |
Conclusion
The Frigidaire E64 error code doesn’t have to spell the end for your dryer if you arm yourself with the right troubleshooting knowledge. In most cases, the problem stems from a clear issue like a faulty heating element, blown fuse, or bad thermostat – all repairable DIY fixes. Just be ready with your multimeter to diagnose the problem. And don’t be afraid to call in a repair pro if you’re unsure about tackling complex heating element or control board issues. With some perseverance, you can beat that cryptic E64 code!
Frequently Asked Questions About Frigidaire E64 Errors
Q: Why does my Frigidaire dryer show E64 sometimes but heat other times?
A: Intermittent E64 errors usually mean there is a loose connection going to the heating element or thermostat. Check the wiring and component connections.
Q: The dryer runs but won’t heat with an E64 error. What’s wrong?
A: This indicates the heating element has failed or lost continuity. Use a multimeter to test the element for continuity. If faulty, it needs replacement.
Q: I replaced the heating element but the E64 error returned. Now what?
A: The cycling thermostat or thermal fuse likely also failed and needs replacement. Test both with a multimeter and replace if faulty.
Q: What if I can’t find the source of the E64 with my multimeter?
A: At that point it’s best to call a technician, as the control board may be at fault. Complex control board diagnosis and repair is best left to the pros.
Q: Why does my dryer sometimes display E64 but sometimes E66?
A: This fluctuation between error codes often means the connectors going to the heating element are loose or corroded. Check the wiring connections.